Minimal Next.js Blog (Part 6 - Azure hosting)
This is a multipart series. If you haven't read the previous post, I'd suggest you start at part 1, as all subsequent parts continue on from each other and likely won't make sense as individual units.
Part 6, Welcome. In this part, I'll be setting up hosting on Azure. I'll be making use of Static Web Apps (Preview).
Initially, I planned to use the static hosting via Azure Storage & Azure CDN. However, Static Web Apps caught my eye, and wow, does it make this part easy - as you will see.
Next.Js Static HTML
Next.Js supports exporting an app to static HTML, which was my plan on how I was going to use it. As per the Next.Js docs "The exported app supports almost every feature of Next.js, including dynamic routes, prefetching, preloading and dynamic imports.". To enable this, I slightly tweak the build script command in the package.json file and add a call to export.
I change the build task from:
"scripts": {
  "build": "next build
}
to:
"scripts": {
  "build": "next build && next export"
}
When I run the build command, now
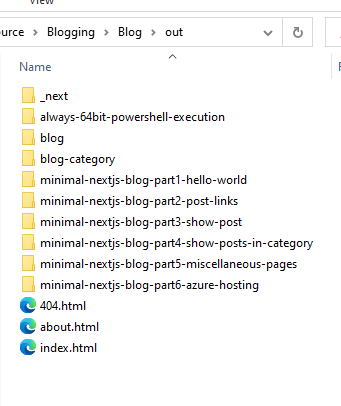
npm run buildNext.js outputs a static website in the generated /out directory.
Another great feature is the size of the payload. Keep in mind, that my site does not have any styling whatsoever. However, when I view the network tab, I see the following figures:
0 requests 82.6 kB transferred 195 kB resources
As you can imagine, the site loads fast (AU -> US West). About 1 second without cache and about 1/4 of a second with cache.
Nice 👍
Static Web Apps
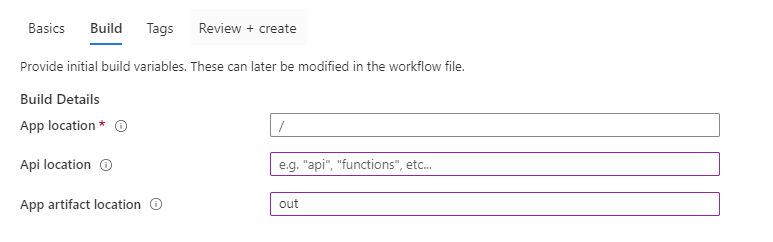
Thankfully, setting up a Static Web App was surprisingly easy as per the Azure norm. I won't lie; my first go ended in an error that came down to me entering /out as the path to collect the Github actions artifact instead of out without the leading slash. Everything else, though, just worked. WOW!
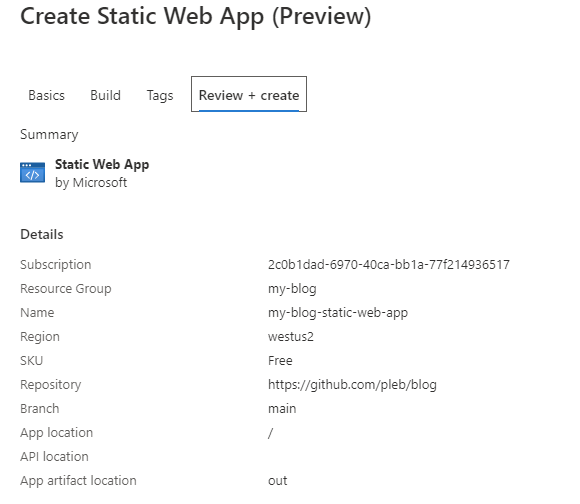
To create the Static Web App, I used the Azure Portal interface.
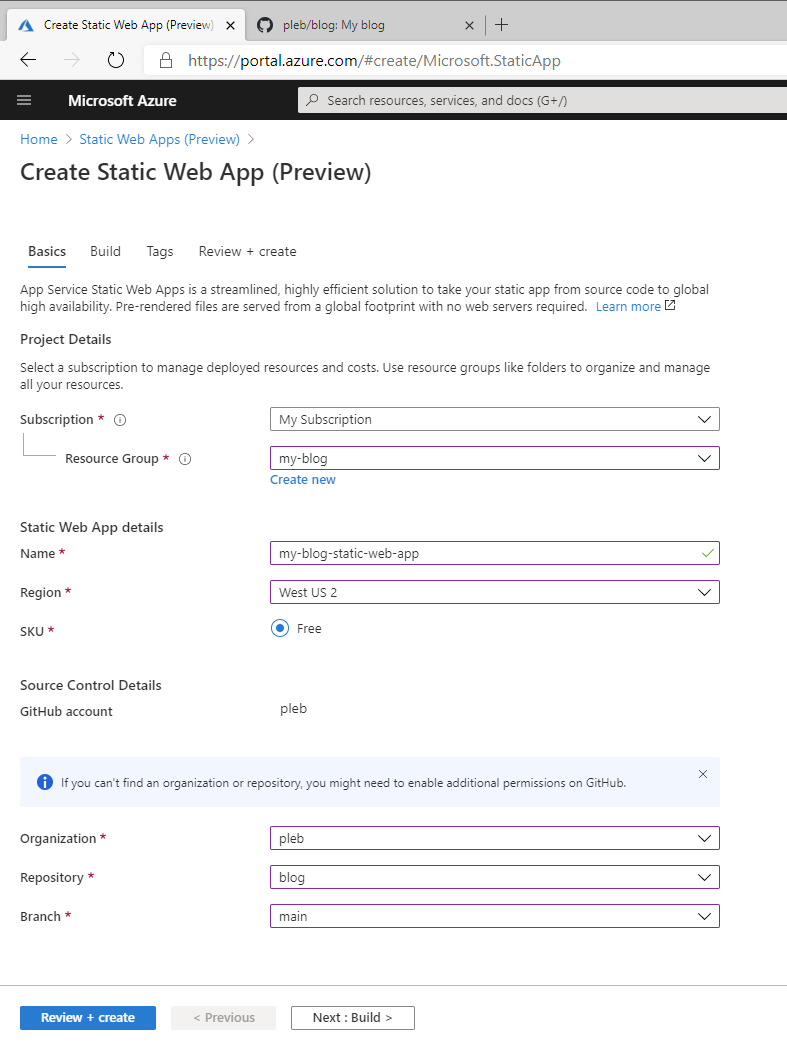
Then I entered details as requested by Azure for this site. Nothing out of the ordinary here. Lucky for me, Static Web Apps will integrate with Github using Github actions, and again fortunately for me, it will sort all of this out without me doing anything 🤯. I simply allowed Azure access to my Github data via an authorised OAuth App, and 💥
Next, I entered the build information, ensuring I entered out without a leading slash as the App artifact location. I also cleared the Api location as I won't be using a backend. However, this option is for wiring up a backend using the Azure functions (serverless), which I found interesting 🤔.
I skipped over the creation of the tag as I don't need them. Maybe one day...
The review and create screen is a summary screen. With everything looking in order, I hit create.
I then get redirected to the overview screen.
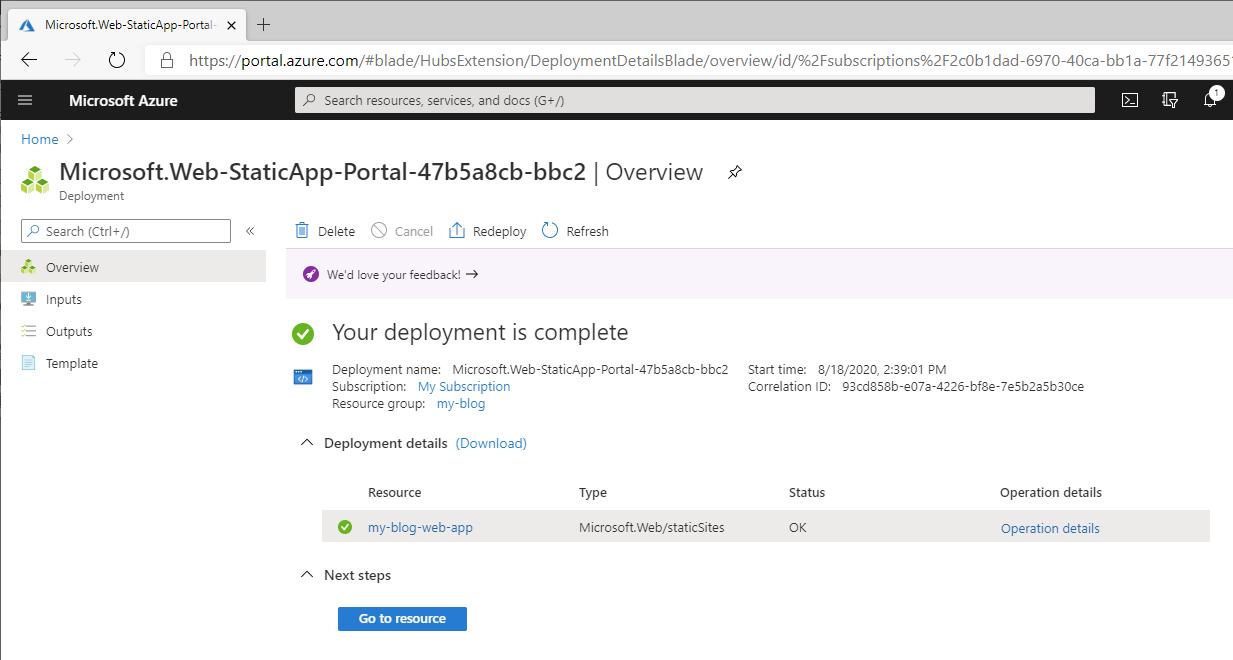
Once the deployment is complete, I see that Azure has added the file needed for the Github Action when I look in my repo.

When I go and view the actions, I see that a job has been queued.
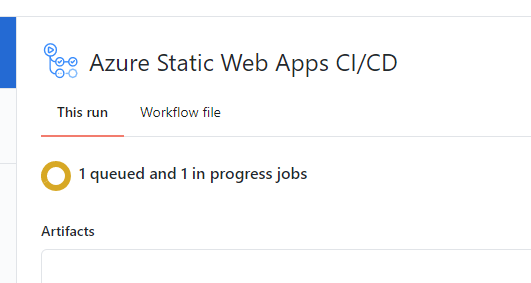
After a few minutes, I get an email saying my site is ready... It is 🎉.
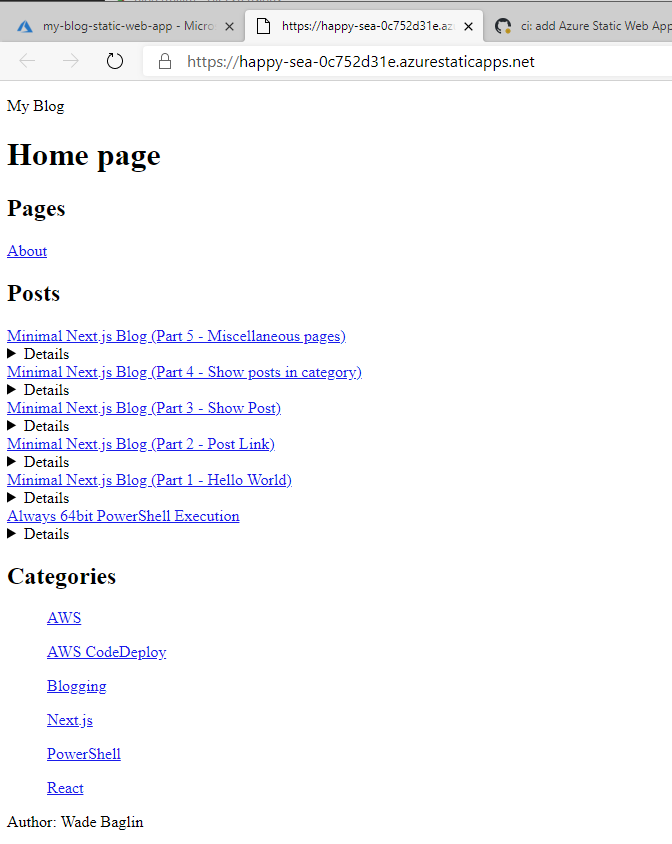
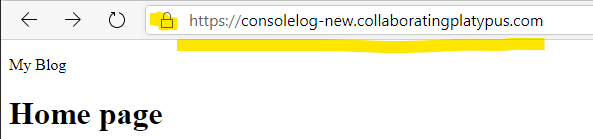
See, I told you it was easy. The best part is that whenever I commit to the main branch, the Github Action will run and publish the new version to my Azure Static Web App. I was even able to point a custom domain to it and surprisingly, an SSL cert came included too.
But wait! There's more. When I make a PR in Github to the main branch, guess what? The friendly github-actions bot deploys a staging site with the changes from my PR 🤯.

In part 7 I add a few styles. Like this part, it's going to be amazing (Again, Self Certified).
Date May 6, 2022